
In today's rapidly evolving technological landscape, Generative Pretrained Transformers (GPTs) have emerged as powerful AI models that are transforming various industries and aspects of our daily lives. While the prominence of GPTs continues to grow and interaction with them becomes more accessible, there are still some notable disadvantages associated with the current solution. This blog aspires to unravel the intricacies of a customized application, delving into the meticulous design process, seamless execution, and future prospects for implementation. The goal is to craft tailored applications meticulously designed to overcome the limitations of the current methods of interaction with GPTs.
Design Process
Step 1. Define Problem
In my daily utilization of GPTs through webpage portals, I consistently encountered the need to toggle between tabs while conducting research for in-depth information. The repetitive clicking became increasingly burdensome over time. Furthermore, the browser-based interface had a tendency to conceal itself when my attention momentarily shifted to other windows, proving inconvenient when I wished to seamlessly transfer a section of information to the application in focus. Lastly, its accessibility was not instantaneous, requiring navigation to the browser before I could utilize it, presenting an additional layer of inefficiency.
To mitigate the challenges encountered when utilizing GPTs through webpage portals, an ingenious solution was devised, incorporating three key components: the integration of multiple GPTs with one dedicated to each window, the implementation of an always-on-top floating capability, and the incorporation of a customizable global shortcut.
Step 2. Research & Ideation
Research has indicated that there are two primary modes of interacting with GPTs: via webpages and through APIs.
Since the advent of GPTs, developers have been actively seeking ways to seamlessly integrate them into their applications, often resulting in aesthetically pleasing interfaces during conversations. While API interaction necessitates obtaining a special key from GPT providers for information transfer, it is considered a less favorable option due to the private nature of these keys, making public sharing impractical. Another compelling factor behind my choice to employ WebKit stems from my identity as a Mac user. In crafting an application tailored to enhance my daily usage, the utilization of Swift and Xcode presented a more straightforward approach. These development tools facilitated the creation of the application with ease, offering a generative UI design that streamlined the process without unnecessary complications.
Hence, I opted for the web-based interaction. Notably, a project already employing this approach for a similar use case is ChatGPT-Mac, a lightweight chatGPT interaction method residing in the menu bar of a Mac. Despite its merits, it falls short of meeting my requirements for a floating window and exhibits some flickering issues with its shortcut. Consequently, I decided to pursue a comparable approach utilizing WebKit to open the web version of GPT, providing a window on the desktop for swift operations and an elegant floating design.
Step 3. Prototyping
This application comprises three significant windows: the main window, tasked with handling the web element; the settings window, where users can configure various aspects of the app; and the tips window, introduced in version 2.0, providing additional guidance and insights.
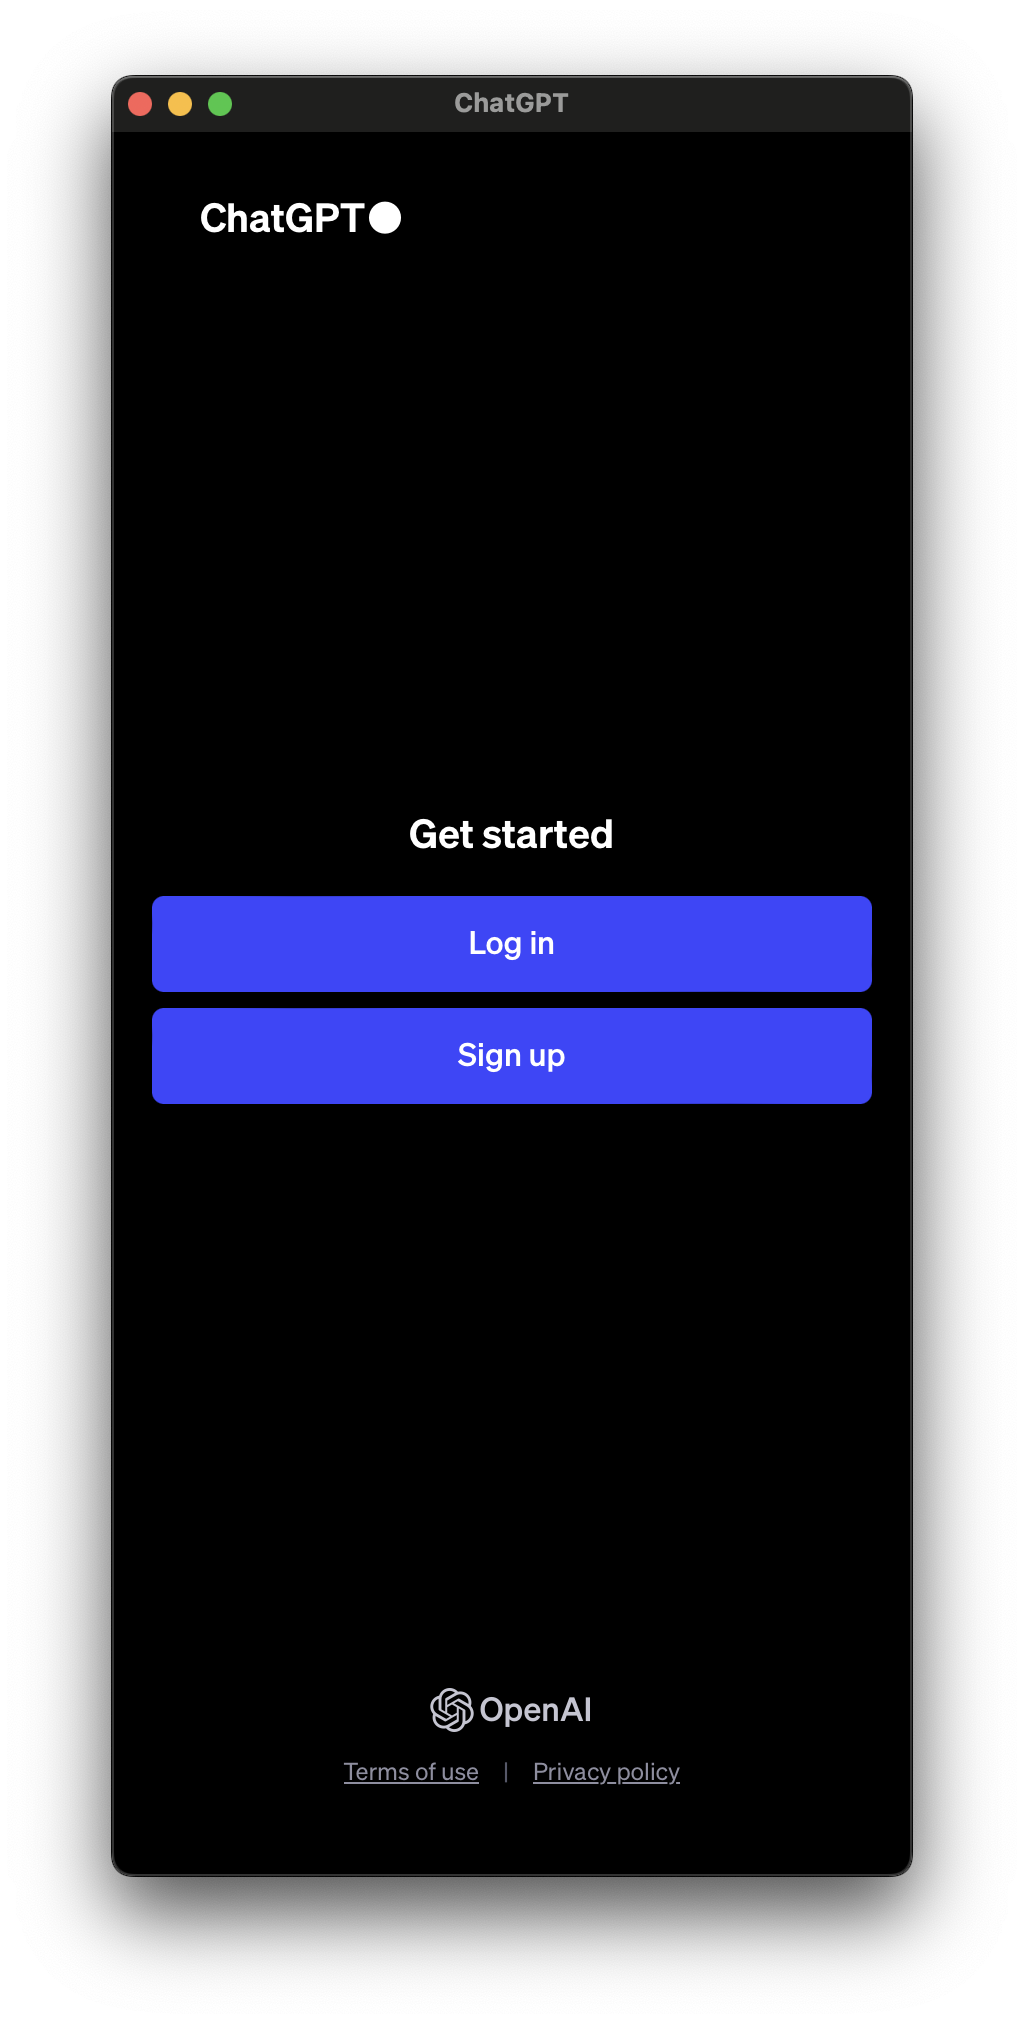
Main Window
The primary function of the main window is to showcase the web element from the corresponding website, and it is intentionally crafted to occupy the entire window space for a seamless and immersive viewing experience. This design approach prioritizes simplicity and straightforwardness.
Settings Window
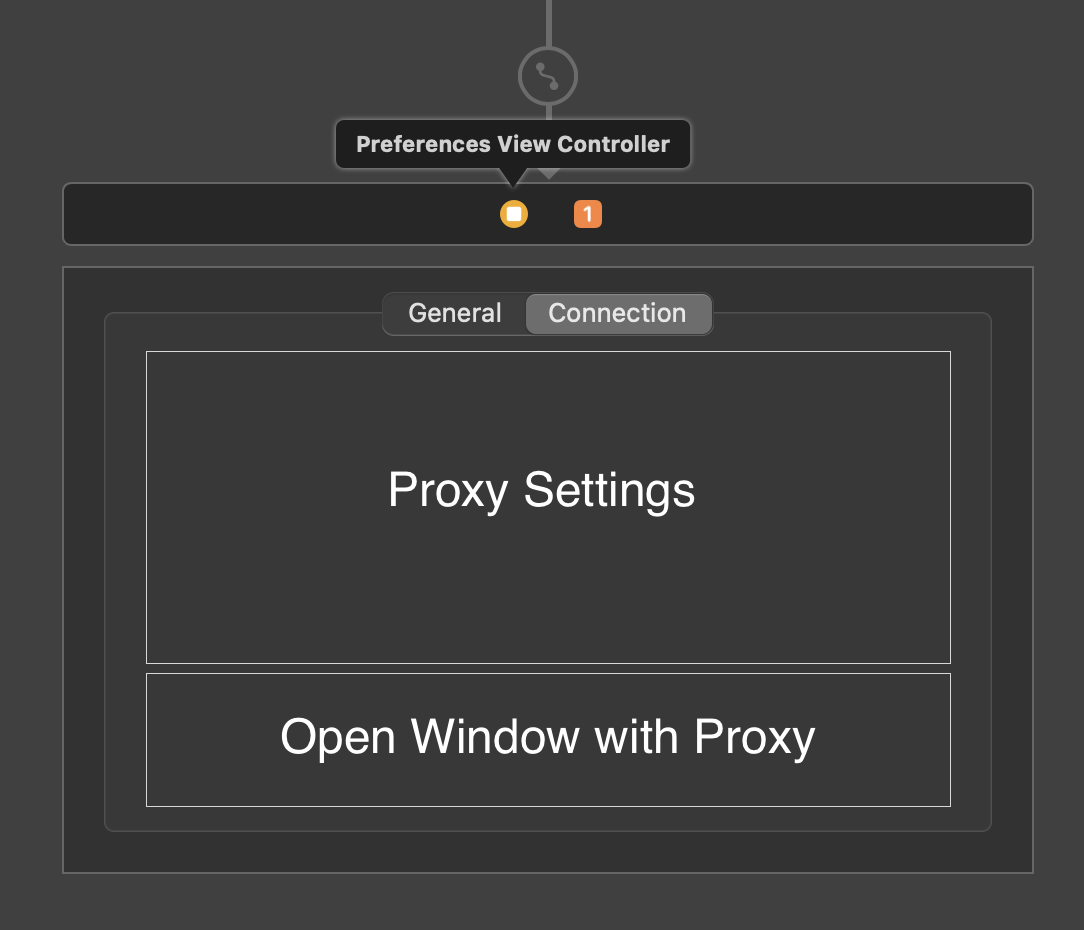
In essence, the settings window has been organized into two tabs: one dedicated to general settings and the other specifically tailored for connection details, a feature introduced in version 3.0.
Within the general tab of the settings window, three distinct sections have been delineated for user convenience. The GPT selection section enables users to designate the GPT web variant to be opened in the window, offering a selection of commonly used GPTs, including but not limited to ChatGPT and Claude. The floating window settings afford users the flexibility to specify their window preferences, allowing them to opt for either a floating window or the creation of a new, always-floating window. In the global shortcut section, an interactive menu is provided, empowering users to enable and customize a global shortcut for enhanced accessibility.

The newly introduced connection tab in version 3.0 takes charge of custom proxy settings. Notably, these proxy settings are applied exclusively when generating a new window. To complement this feature, a functionality for creating a new window has been seamlessly incorporated below, enhancing the user's control over the application's connection configurations.
Tips Window
The tips window serves as an informative guide, offering insights on how to engage in effective conversations with GPTs.
Encompassing various aspects such as chatting, coding, rendering, and writing, it provides valuable suggestions for users. It's important to note that while the window provides informative content, the suggestions are intended as guidelines, and users are encouraged to approach their interactions with GPTs based on their preferences and needs rather than adhering strictly to these recommendations.

Step 4. User Testing
With a primary objective of enhancing the user experience in daily use, usability testing was meticulously conducted. The evaluation placed a strong emphasis on assessing the application's ease of use, ensuring that navigating and interacting with the features were intuitive and user-friendly.
Step 5. Refinement
Following the invaluable feedback gathered during usability testing, design adjustments were made accordingly. The modifications aimed to address user insights and enhance the overall user experience, ensuring that the application aligns more closely with user expectations and preferences.
One notable modification involves the integration of a quick access menu within the dock. This feature allows users to effortlessly launch a new window with their desired GPTs by simply right-clicking the application icon, eliminating the need for extensive interaction and navigation through the settings menu. This enhancement prioritizes efficiency and provides a more seamless experience for users.
Execution
The execution of the application was carried out using Xcode with a combination of Swift and Storyboard.
Although it could have been exclusively implemented in Swift, the inclusion of Storyboard offered a more interactive UI design process featuring generative elements and efficient element displacement. The UI elements were initially crafted and positioned within the Storyboard, subsequently being seamlessly linked to their corresponding sections within the Swift code. This approach provided a balanced and effective methodology for the development process.
Future Implementation
In future iterations, the implementation of the application may encompass an additional option allowing users to place the app within the menu bar. This potential enhancement aims to provide users with greater flexibility in choosing the application's interface, catering to individual preferences and optimizing accessibility for streamlined daily use.
